Sunday, December 28, 2014

The Christmas Scarf

Sometimes I just throw myself in feet first into a project. I kind of did that this year with the scarf I made for my sister-in-law. It motivates me to learn what I need to do to complete it, and it gives me a very identifiable end date...a hard deadline. Making homemade gifts before Christmas is upon you can be a little stressful, despite all of the years we've done it, and this project was among the more stressful projects I've completed. The weaving was fun and changing out of the colors was interesting. And since it was for a gift, it was important that it looked perfect! In the end, I learned many things (I'll elaborate a little below) about how to do color changes with weaving and the result was better than expect (and very well received!)


When I embarked on this project, I initially took one skein of handspun from my stash for the weft. Then I thought that might be a little too boring for my sister-in-law, who works as a top level landscape architect at a swanky firm in Philly and is also an amazing abstract painter, so I rummaged through my handspun stash for a bigger variety of weft yarns to sift through as I wove. She would love it anyway, but I wanted to really give her a statement scarf. I think I nailed it!

Here's how I started the scarf with my Kromski Harp loom:


I'm getting the hang of making a slightly looser weave. I kind of messed up a little on a previous project (I'll talk about that later), but this scarf turned out perfectly flexible and soft.


Sometimes, I have a hard time realizing what I'm reading and turning it into the setup when it comes to weaving. I used to be unable to wrap my head around the description for making a heel for knitted socks. After reading several posts about how to make string heddles, I finally put the things I had been reading into context when I was sitting there at my warped loom and making all kinds of weird loops with my waste yarn. I give you, my version of a string heddle! You loop every other yarn with the waste yarn, put it on a heddle stick (or anything you have lying around, like I did), then to secure the strings, I made a simple crochet chain along the top:


I wasn't sure how I was going to deal with weaving in all of the ends I would be making with this project. While I was weaving, I just always added in a new yarn from the right side so the tails all hung out on the right side. I made sure to leave enough of a tail so I could weave the tail in all the way to the opposite edge. I was worried about having so many short tails to weave in and what that might do the finished project--I didn't want it to be lopsided!


As far as weaving in the ends goes, I just wrapped the end over the last warp yarn and ran it back through the weaving, wrapping the tail yarn around the woven yarn. It gave it a plied look. I secured the tail through the last warp yarn on the opposite side of the weaving by pulling the tail yarn through the middle of the warp yarn (the tail yarn bisects the warp yarn perpendicularly). I hope that makes sense! I didn't get a shot of this securing method because I was trying to finish the project and take it off the loom before I headed to America.


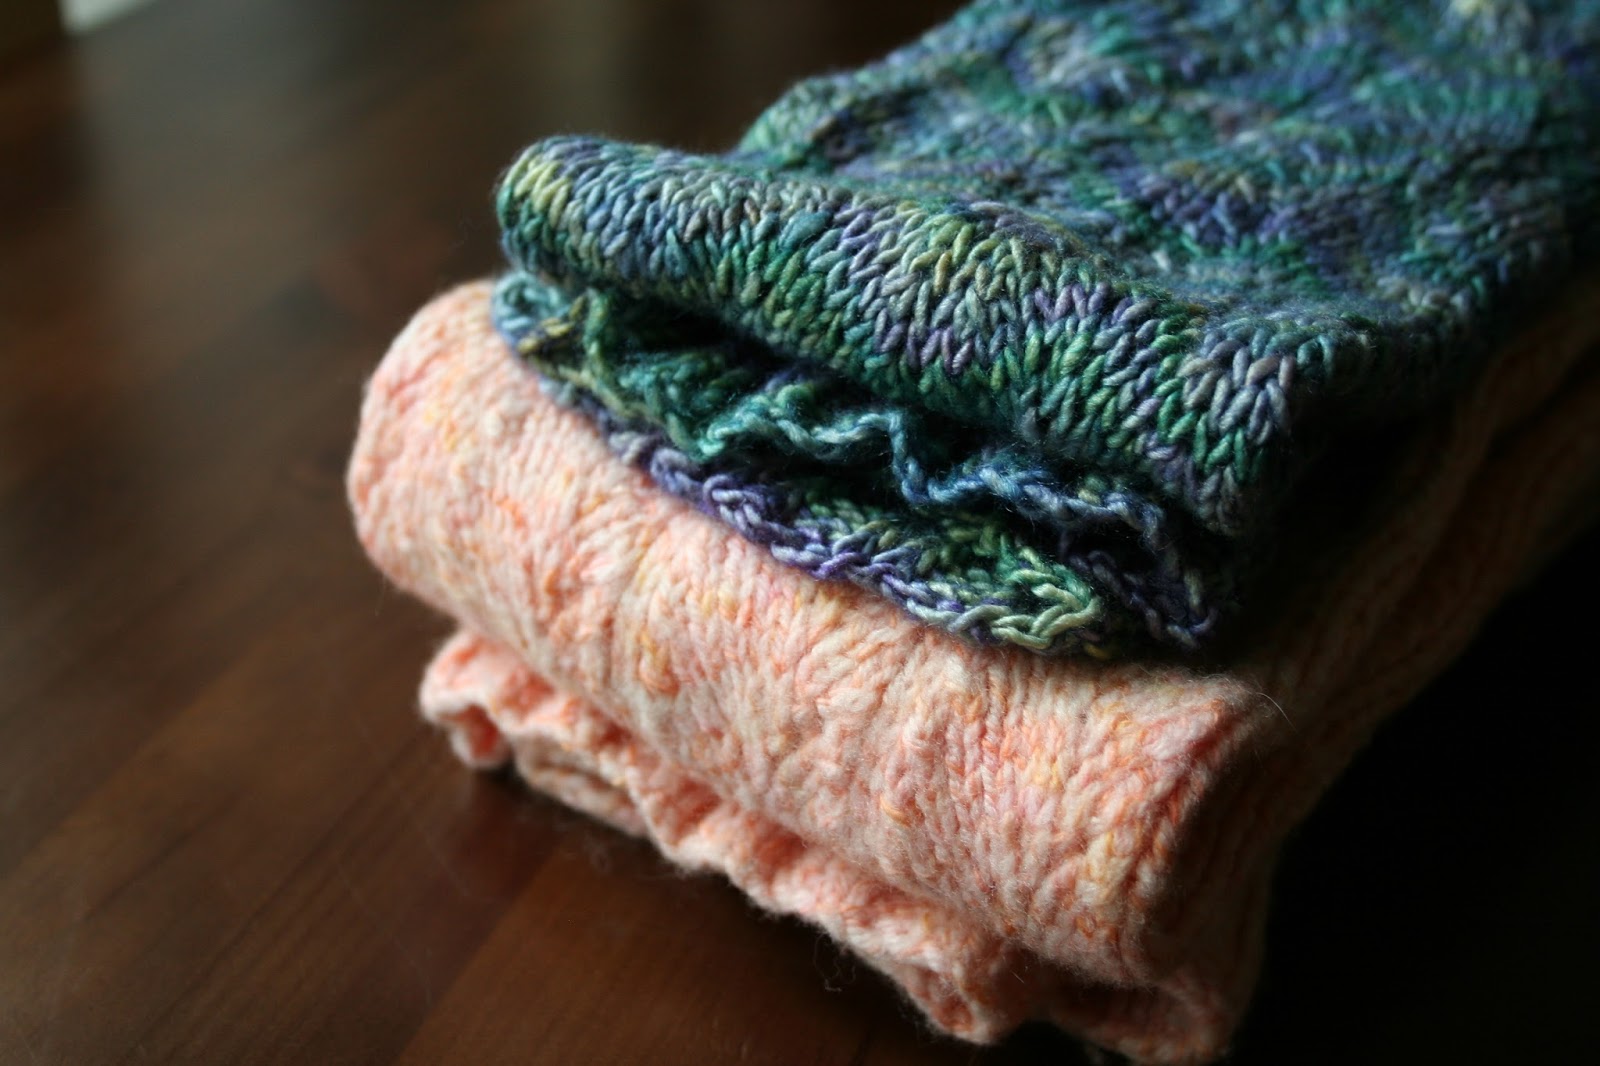
In the picture above and below, you should be able to see a few lines where the yarn looks extra puffy. That is where I doubled the yarn back on itself to weave in the tail. The thin yarns blended in more smoothly, but I needed to do something different for the thicker yarns. For the thick yarns, I untwisted the fiber, drafted the fiber thinner, retwisted it, then wove the thinner yarn back through the thicker yarn, burying it inside the weft yarn. I may need to do a video on this since it's difficult to explain clearly. For the plied yarn, I pulled each ply apart and wove them in like I did for the bulky singles. When I got all of the yarns woven into the scarf, I kept the ends long. I washed the scarf, dried it, then reshaped it and rolled it flat with a rolling pin. Once it was completely dry, I snipped all of the tails close to the fabric. This step allows me to only cut the ends once, not twice. There are a lot of woven in bits!


I finished the fringe with knots at the top, and kept the length on the long side--about six inches. The scarf was around 72 inches, 6 feet, and the fringe bumped that up to a total length of about seven feet. Needless to say, you could wrap this around two times and still have plenty of length left over to tuck and twist and wrap and fold however you wish. It's glamorous for LA style, yet warm enough for chilly Philly. My sister-in-law travels a lot, so this versatile scarf will always be rolling in her carry-on!

I hope your holiday projects went well, and as always, feel free to share your works of art over on Facebook!

Monday, December 22, 2014

Dream in Color Shrug Review #2

I already did a vlog review of this pattern, but I thought I'd do a follow-up now that I've made the shrug from this pattern twice. If you missed the video, I'll post it below:


I washed the shrug and the yarn poofed up a little, so the pattern is slightly muddled until you put it on. You can see what I'm referring to in the video. The body helps stretch out the pattern, so I think I needed to use a larger needle or thinner yarn. I'm a tight knitter, and a consistent one, so I managed to get the right gauge but the pattern isn't as clear as it could have been. Oh well, the orange shrug is very warm and cuddly. :)


You can kind of see how the pattern looks somewhat obscured in these two photos (the one above and below). I think this is what might happen if I used a fluffy handspun, so if you plan to use handspun for this pattern, you should try to make a smooth, maybe even plied, yarn. Or you might change the needle size to be the next size up and make the knitting slightly tighter than it would be normally.


If you want to customize the look of this pattern further, I would recommend reducing or adding a pattern repeat in the wave pattern to accommodate your needs. This is especially useful if you want to knit this with an inflexible yarn, like pure silk or cotton.


If you dislike short sleeves, or want to remove the turn up cuff feature (the ribbing), you can make the sleeves 1 repeat longer (20 rows of the full pattern) and make the cuff half this length (or shorter!). Because there is no shaping involved, it's very easy to make these changes on the fly. If you want to make this a long sleeve, I would experiment with decreases along the edges first. Decreasing one stitch at the start of each row is a popular type of gradual decrease, though you should measure your arm to get the decreases in the right spot so the garment fits best. What I have done in the past is measured the circumference of my upper arm and wrist and calculated how many stitches I need to decrease from the upper arm to the wrist so that I get a fitted sleeve. For example, if I needed to decrease 42 stitches in a 21 inch sleeve, and there are 4 rows in an inch, I would decrease 1 stitch every other row. That will give you the perfect custom fit.

I decided to knit my next shrug with Malabrigo yarn (because it's decadent!), and chose the 50/50 silk/merino blend to make a luxury shrug. I was a little concerned about the silk content and how it might be too droopy in a shrug, so I used a smaller needle than it called for. I needed a size 8, but used a size 6 needle for this yarn. I wanted to make it slightly more fitted feeling than the wool version to counteract the inevitable drape of the silk, and the result turned out nicely. I attribute the nicer stitch definition to the yarn being thinner and unplied.


The only problem I had with this version was the yarn. Sometimes Malabrigo dye batches aren't consistent throughout the entire lot. I bought four skeins of the same dye lot, but three of the four had very different hues. One was very saturated with dark blues, one was saturated with yellows (two of the four skeins), and the third was a paler version of the first. As a dyer, I know that these things are possible. You need to be very accurate with how you apply the color to the yarn (or water) for consistent blending. I took notes on how I did this so my kettle dyed colors not only had the same hue, but also the same consistency in the kettle dyed patterns (that was so they would muddle together in the same way every time). But, I did what I could and used the darker blue for the cuffs and the paler version for the majority of the shrug.

Unfortunately, I didn't have a choice for the last bit of the pattern and had to switch to the yellow version for a few rows. It doesn't bother me too much, but I'm a little sad that it's noticeable. I could have circumvented this problem if I alternated rows with the different skeins, but...meh...I don't really care that much. I've worn this one a couple of times and no one has commented on the color issue.


The finished silk/merino shrug turned out to be about 3/4 the size of the orange shrug, which is a nice size for the yarn I used. Since it didn't fluff up as much as the pure wool, the pattern is a little more obvious. It's very sleek and luxurious, and I can't wait to pair it with a little blue dress. :)


I think the next time I make this pattern, I'll use some handspun for it. I'll whip up some light worsted weight plied yarn and 500 yards later, I'll cast on this pattern again. This will go a long way to helping me develop my own shrug pattern like this, since I'm not usually happy with most shrug patterns. What do you like in a a shrug pattern? Customizable options? Shaping? Cables? Yarn overs? Post in the comments below and I'll think of ways to incorporate them.

Happy Holidays everyone! <3

Thursday, December 11, 2014

A Change of Plans...

So, this is it. The last day I'll be in Korea is today/tomorrow. Why? Well, it has been a whirlwind week. As many of you know by now, I've been planning to head back to graduate school since I want to get an advance degree in archaeology, which will lead into a PhD in Landscape Archaeology. I applied to the long-distance MA program at the University of Leciester during the Summer of 2013, but due to a change in jobs, I couldn't pay for the tuition without loans. I deferred my enrollment for nearly a year, then I decided: life is too short. I applied for their campus based program and got my letter of acceptance last month. But I'm in a unique situation, living in a foreign country and needing to request for a student visa in the UK. For many complicated reasons, it's best for me to be in my home country for visa preparations, so that means I'll be staying in America while Mr. IT Guy heads back to Korea at the end of our holiday stay.


I had less than six days to prepare for this moment, and it has been bittersweet. Living in Korea has been difficult, and I've gone through several adjustment periods. Some days, I'm happy to live in a big city where I can get pretty much anywhere I want with a cheap subway ticket (like, $1 to travel anywhere I want in Seoul!), and it's nice getting inexpensive, high quality healthcare which is extremely accessible. On other days, I'm filled with a sorrow because I can't do many of the things I used to do back in the States, like getting a cheap, but delicious loaf of artisan bread, buying clothes which fit, and having access to inexpensive gyms so I can train martial arts. I've been feeling a little melancholy this week since I'm basically moving out.


With the backdrop of Christmas, our mood is at odds with the holiday cheer. We've been looking forward to this holiday since September, and now that it is nearly upon us, we feel a little sad. I've never been more than a week apart from Mr. IT Guy, and a year and a half is quite a long time to be apart from him. And when he does come back from our holiday, he'll be walking into an empty, Jen-free apartment. The most maddening part for him is coming back and needing to finish packing up my stuff to send home. It feels strange. Once we get home and are with family, these feelings will pass. The holiday will boost our spirits. The social interaction with our old friends will improve our moods. And a year and a half apart can be made easier with vacation visits, Skype, and every day humdrum musings. That's not so bad, especially since it helps me achieve the dream I've had since I was 4: to be Indiana Jones, but the girl version.


And what will happen with Expertly Dyed? Well, I hope to be in full-swing, at least until I head to school, then we'll see. I'm even planning to head to the Midwest Fiber and Folk Art Festival in Crystal Lake this summer. I'm packing up everything, fiber, carders, wheel, the works--and you'll see more videos and blogs in the coming months too. Even stuff about dyeing! I'll maybe even get drop spindles into the shop now! Everything for ED will be easier in the States than in Korea, so I hope to polish off the list of videos you have all requested from me. Dyed top and batts will come to the shop regularly, so you always have something wonderful to choose from. It'll be great, and I'll be able to save extra money for grad school.


So, until I come back to Korea, or if I do, farewell. You provided such an important, invaluable lesson about life, and I think I can carve out a place for me nearly anywhere our jobs take us. Living abroad isn't easy, but I'm glad I did it...and I'm happy to do it again. Thank you to everyone who has helped me make Korea a little more bearable, and to those who have given me advice to gain some semblance of sanity while I worked through the various coping mechanisms of the result of culture shock.

Thursday, December 4, 2014

Being Extra Thankful! Mini Batt Giveaway

Well, I wasn't quite prepared by the overwhelming number of people interested in my giveaway this year! Last year, I was thankful for many things, and though the response for the giveaway swelled my heart, this year's giveaway is shaping up to burst my heart...in a good way. As I mentioned before, I anticipated an even split for the batt/handspun for the giveaway, but I guess more of you are spinners than I realized! So, due to a small oversight on my part, and the lovely responses from you all, I have decided to give away another batt.


I carded up a mini batt to resemble the first one I made for the giveaway, but it is completely unique. The winner will receive this batt:


Inside: merino, bamboo, tussah silk, angelina, wensleydale locks. I blended it twice, so it's soft and poofy!


Total weight: 58g, about 2 ounces


And the lucky winner is:


...Carrie Anderson! Send over your address details to me (expertlydyed@zoho.com) and I'll get this mini batt shipped off to you. Again, thank you to everyone who participated, and I'm happy that I can thank some of you so personally. <3